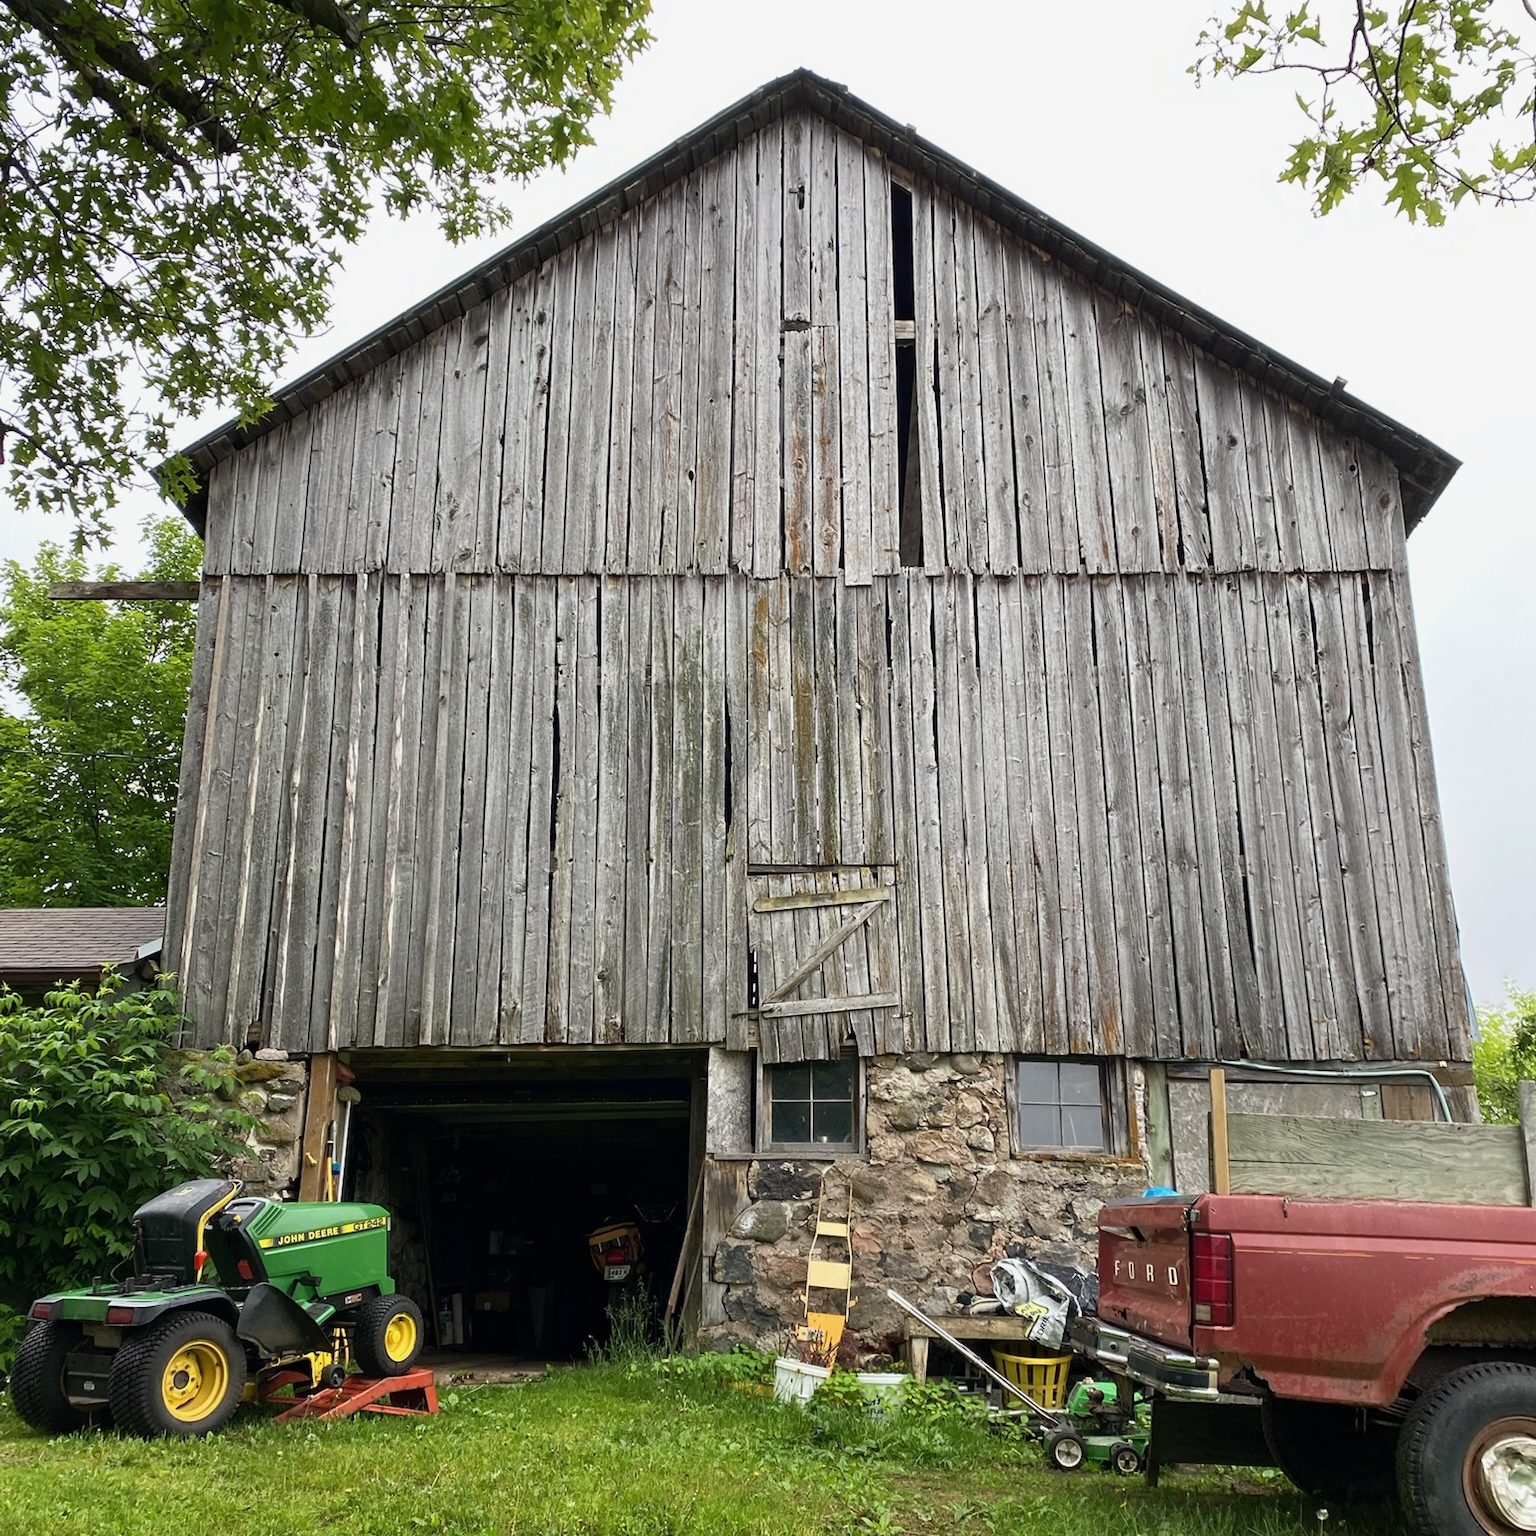
While James has been busy on our barn foundation, I started work on building new sash window frames for the barn. The existing frames are in need of replacement and even if they were still usable we weren’t able to find replacement windows that fit them. I would have loved to have time to build the window panels myself but since James is working on one of the walls with 3 windows in it we decided to just work with window panels we could buy. This proved to be interesting but I’ll get into that later.
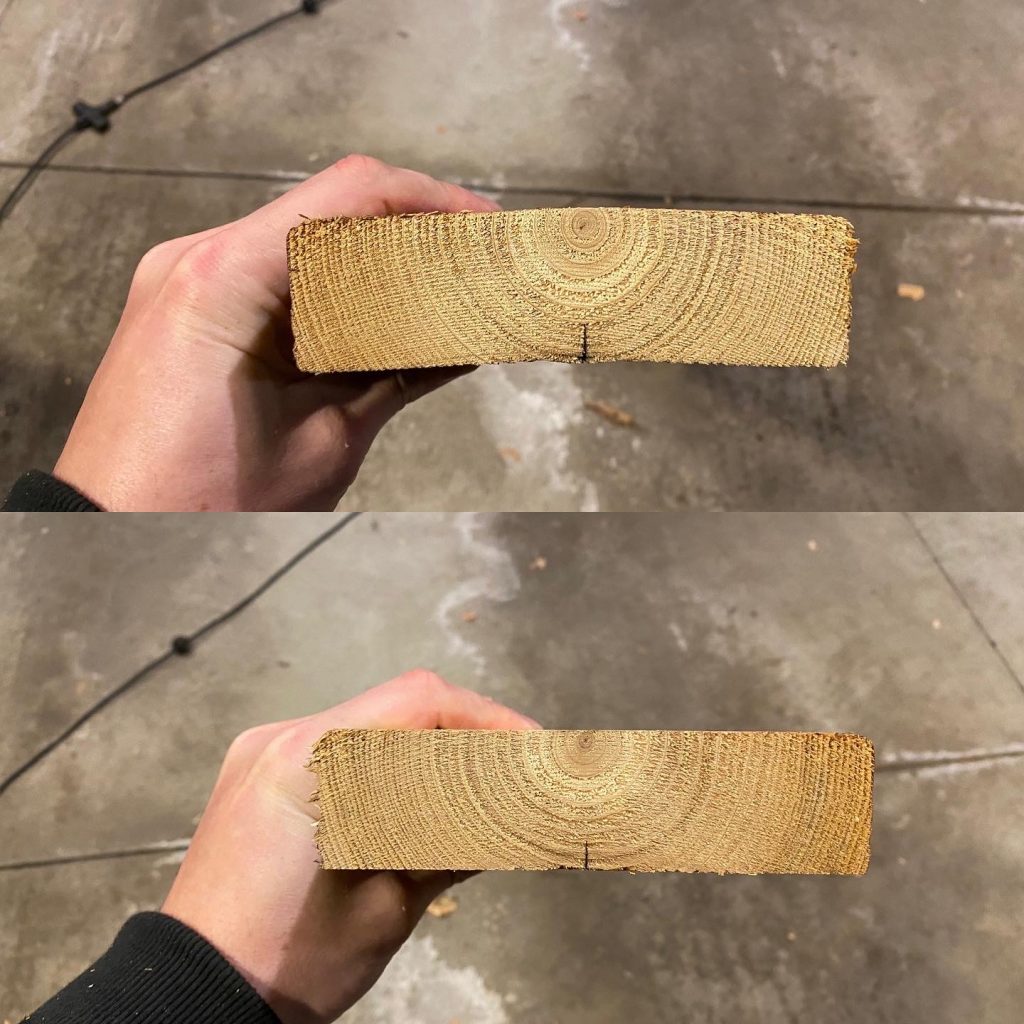
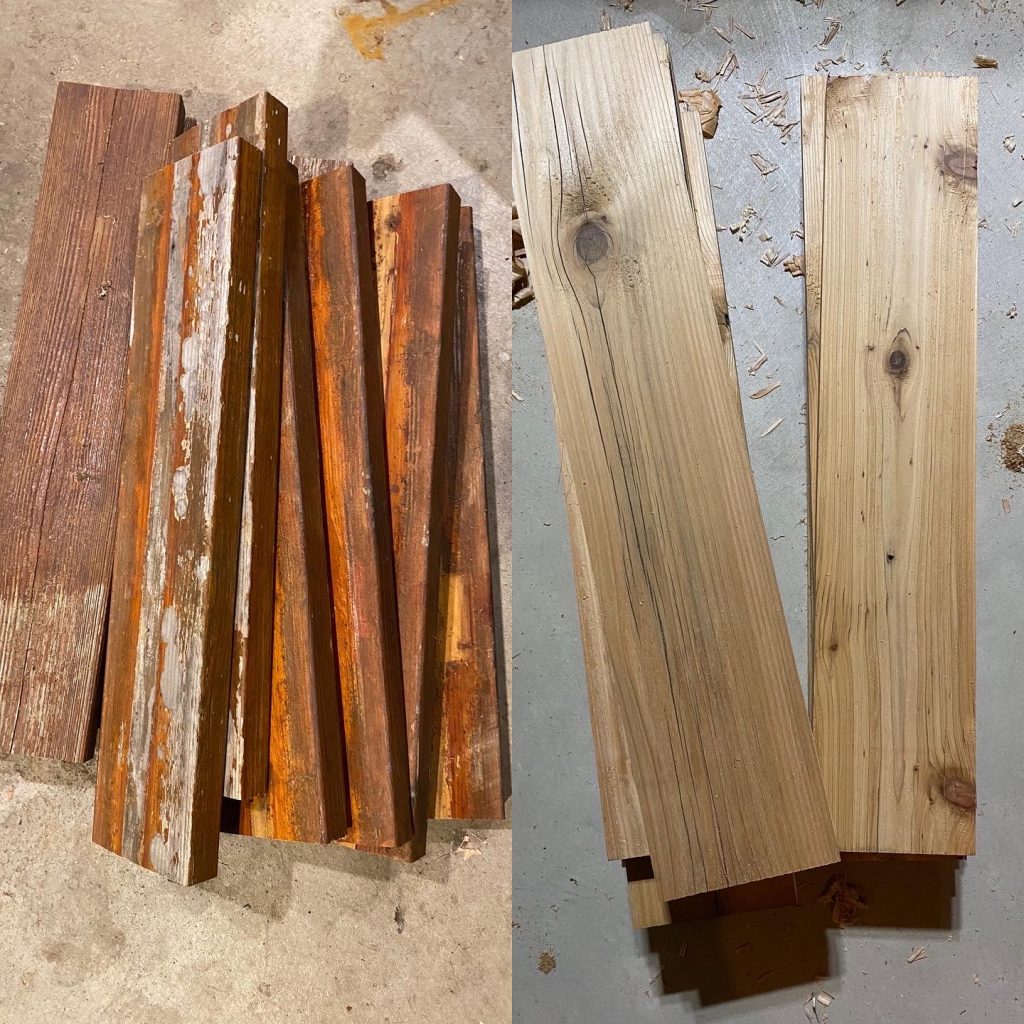
I had recovered some wood from an outside wood pile at the farm that the previous owner had left. A lot of the wood had unfortunately already rotted away but I found a number of cedar boards that looked like they could be saved. Although many of them had fairly severe cupping, in the end, I was able to save a large portion of them. Here are some before and after pictures…
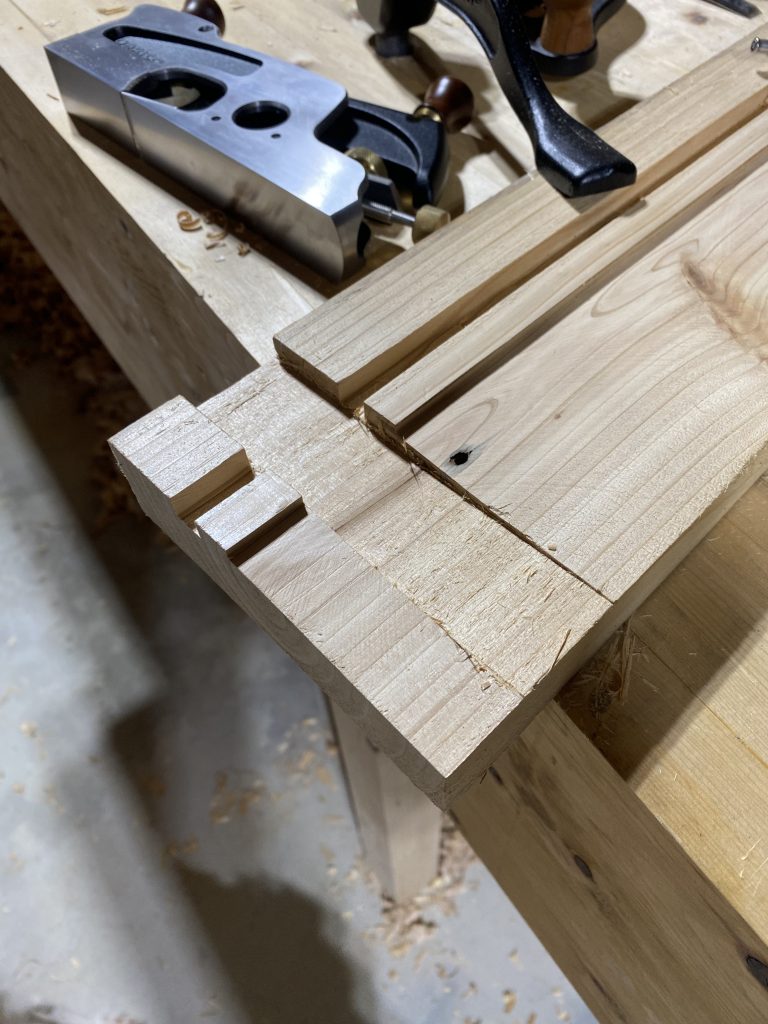
Now that I had the lumber, I needed to work out a design for them. I wanted to replicate some of the frames we had seen on other barns from that time period to bring back some of history. The frames had a stopped dado in the top and bottom for the sides of the frame to sit inside of. Laura also suggested that I bevel the lower frame board so that rainwater would be inclined to run off. The bulk of the machining was done with power tools – but when it got to the bottom dado and bevel, I roughed them out at the saw and then used chisels and planes to get things where they needed to be…
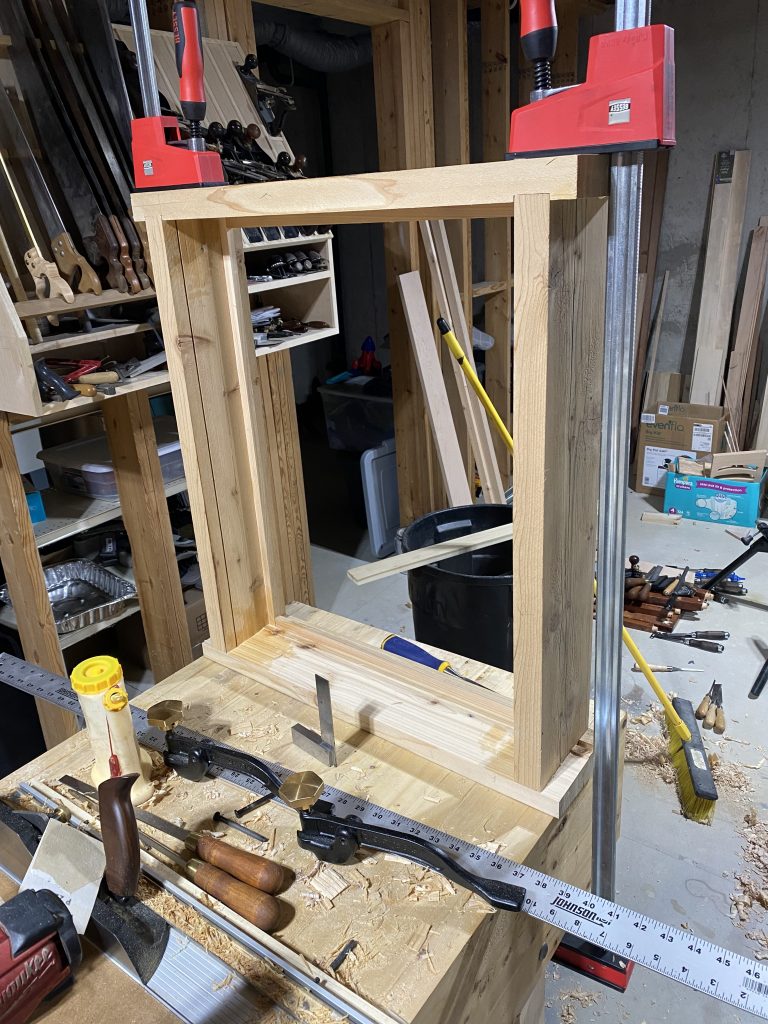
After getting one of the frames together I was pretty pleased with them so I batched the other 4 sets of pieces out and constructed them one at a time…
At this point – I was fairly happy with the frames so handed the them over to Laura to pick out a stain. I then turned my attention to the windows themselves. This is where I started running into issues…
While the window panels themselves were sold as “sash” windows – they weren’t exactly what I would consider a true sash window. They had some oddities about them likely derived from the fact that they were sold with a feature to “easily replace the window panes”. Basically this means that the sides of the frames were attached to the top and bottom with a few screws and the whole window could be disassembled. While a novel idea – using a few screws to hold together an entire frame in soft wood isn’t totally ideal. To top it off, the screws were embedded in slots along the sides of the frames but for some reason they also had the same slot on the top – exactly where I wanted to attach hinges. My fix for this was to glue in a piece of scrap oak I had laying around…
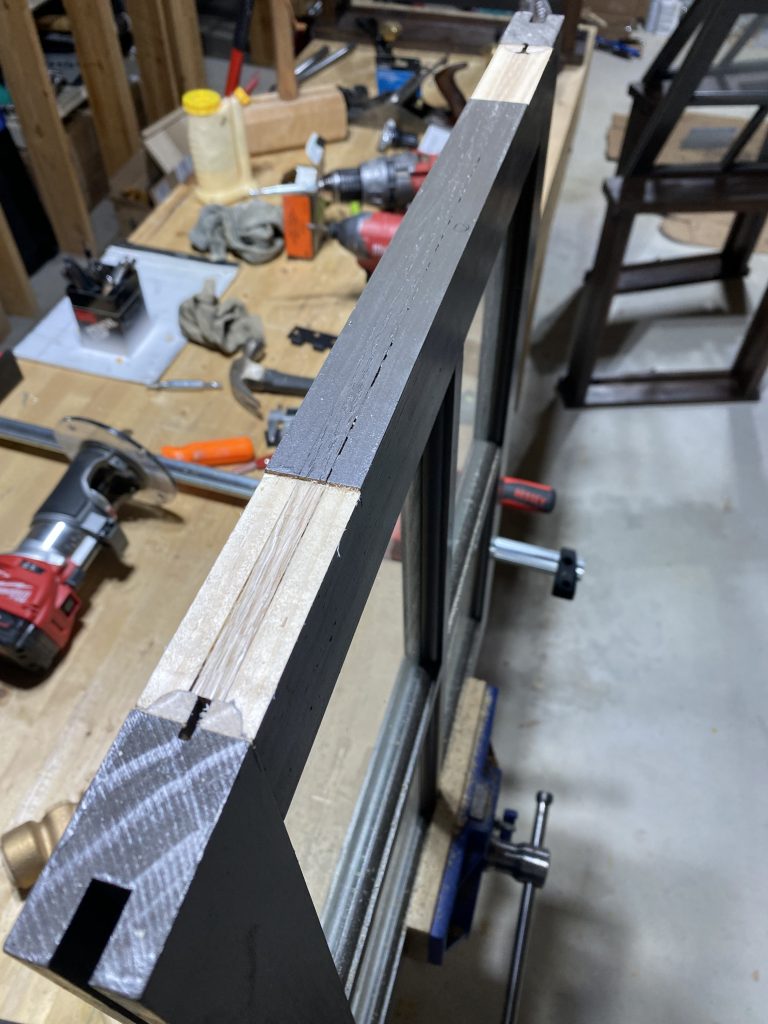
After this was done, I routed out the insets for the hinges and assumed that things would just automagically fit like they should. After attempting to fit the first window, I realized that the window itself was twisted…

My workbench is pretty flat and you can see that the opposite corners were about a quarter inch off the top. This was not cool. I somehow missed this when I bought it because I did check each window (or at least thought I did). Bracing the window took some of the twist out – but for a $30 window I guess I should have known better to assume they would be perfectly square. Luckily this was the worst one and the others were relatively flat. After finishing the stain on the frames and the paint on the window panels (my HVLP gun died after I primed so I had to put the top coat on by hand (also annoying)) I slapped on the recovered latch hardware and called it a day…
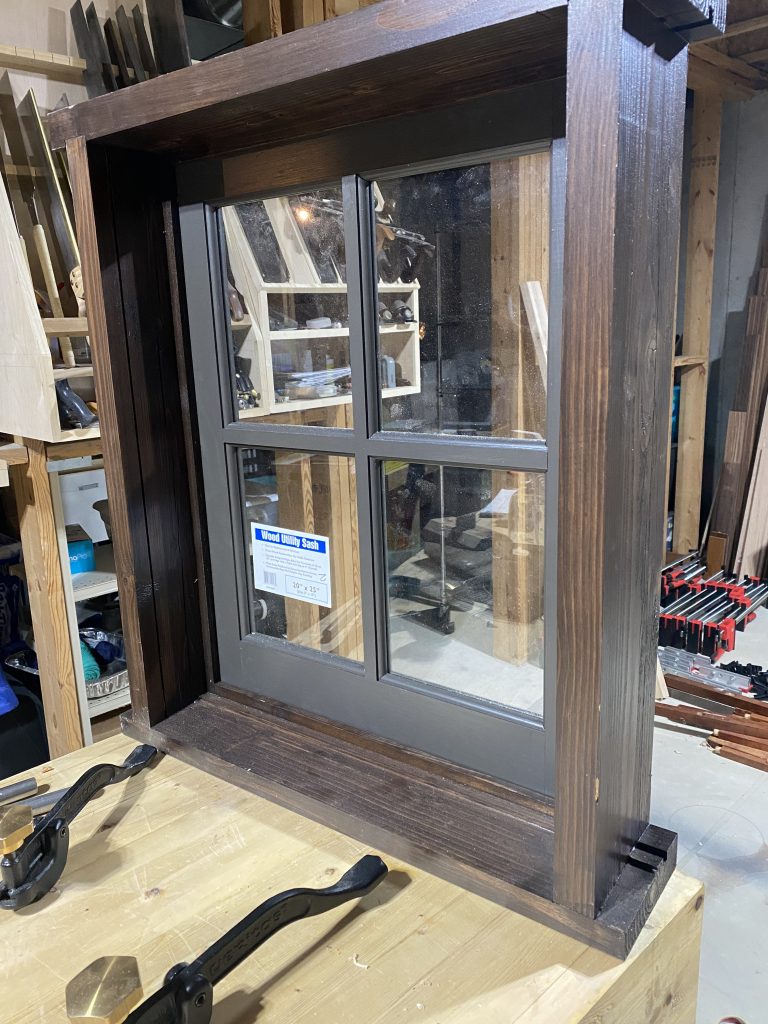
I would say that I’m fairly happy with the windows but most of that happiness comes from the frames. The window panels can be replaced later if it bugs me enough, but for now they should work well enough as is. The saving grace is that the closure on the frame itself is perfectly square so once the window panel is latched, it’s pulled flush against the closure and the twist doesn’t matter that much. Up next – I will be building a custom rectangular frame AND window panel for the west side of the barn!
0 Comments