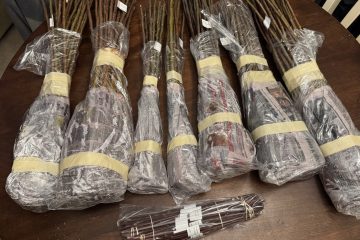
Well – if not obvious – Im a bit behind on these posts so I’ll do my best to try and be explicit about when I did some of these things as the post date will not align with when I actually did these things. In our last post I talked about the actual grafting process. I had ordered the scions and rootstock from Maple Valley Orchards just outside of Green Bay WI. I realized afterwards though that I didnt really show you what the plants looked like after grafting. The reason for that is that I forgot to take a picture of them in the buckets afterwards. But here’s a picture of the 3 pots sometimes afterwards when the weather got nice enough and I started taking them outside…
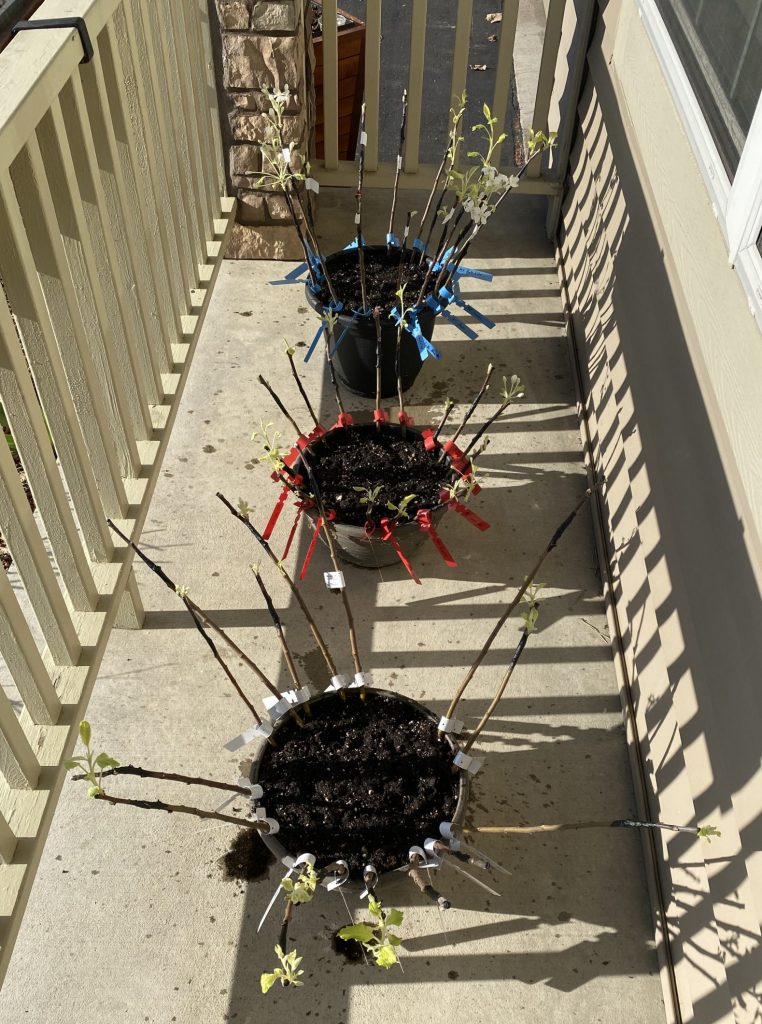
I had 3 buckets – one for each kind of rootstock that I had selected to use. Now – let’s back up a little bit. I finished the grafting in early March and then I heeled the trees over in these planting buckets and made sure the soil stayed moist. I think it’s pretty important to make sure you dont drown the trees so I used planter buckets that had drainage holes in the bottom and I only added water once every other week or so. I kept the pots in a dark corner of the basement. The idea is to keep them in a cool place that’s dark to encourage the graft to heal before the buds start the to break and really need the energy supplied by the roots to fully open. After about 2 weeks I noticed that some of the buds on the rootstock itself had started to open…
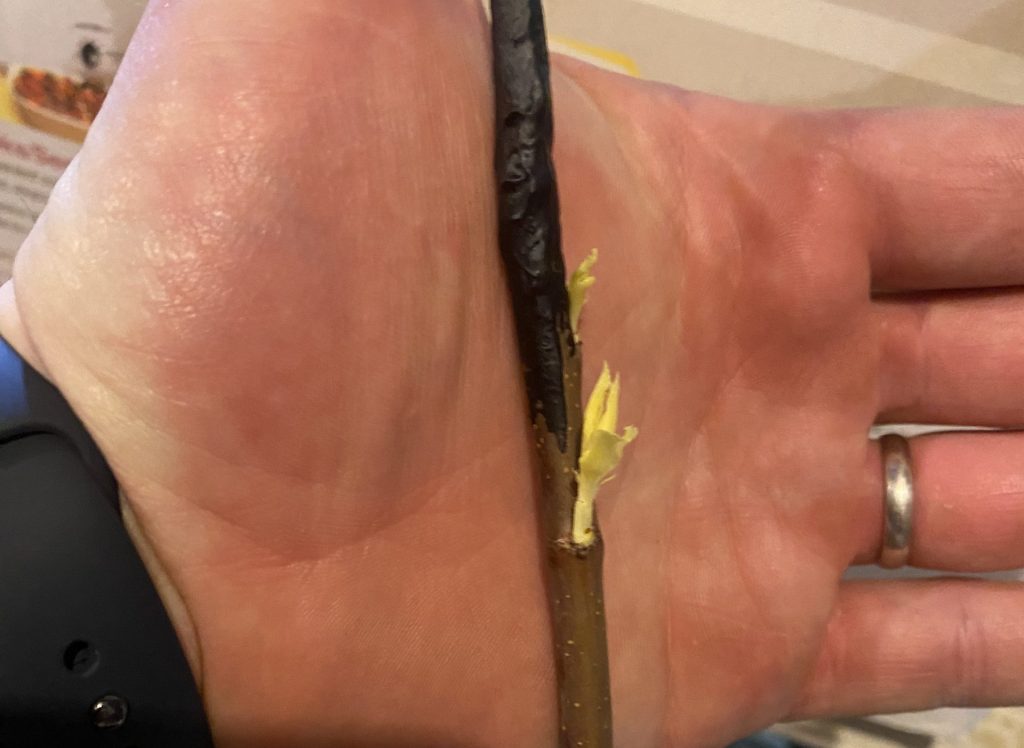
Notice that these buds are below the graft union. These buds should be picked off as soon as you see them open. We want the rootstock focusing on the scionwood not on it’s own buds. I have however read some cases where folks encourage you to leave a bud or two on the scionwood. It’s not clear to me at this point if that’s to help promote the rootstock staying alive or as a means to keep the rootstock viable in case the graft fails. I’ll have to dig into this more later on.
So I got in a pattern of checking on the trees every couple of days and picking off any buds that were emerging from the rootstock. I found that the G890 rootstock seemed to be much more vigorous in this regard. There were far more buds breaking on that rootstock than on either of the other M varieties.
In early April I witnessed my first scion bud break occurring…

Once this started the process picked up quickly. And again – these bud breaks started in early April – almost exactly a month after I had done the initial grafting. Once this started I had started paying more attention the trees. I was regularly pulling buds off the rootstock which I was surprised to see was so vigorous that buds were popping out through the Parafilm and the Treekote…
These buds were all picked off entirely. Again – Im not sure if this was 100% the right play to make but I wanted to be consistent this first year and then see what I could do different next year.
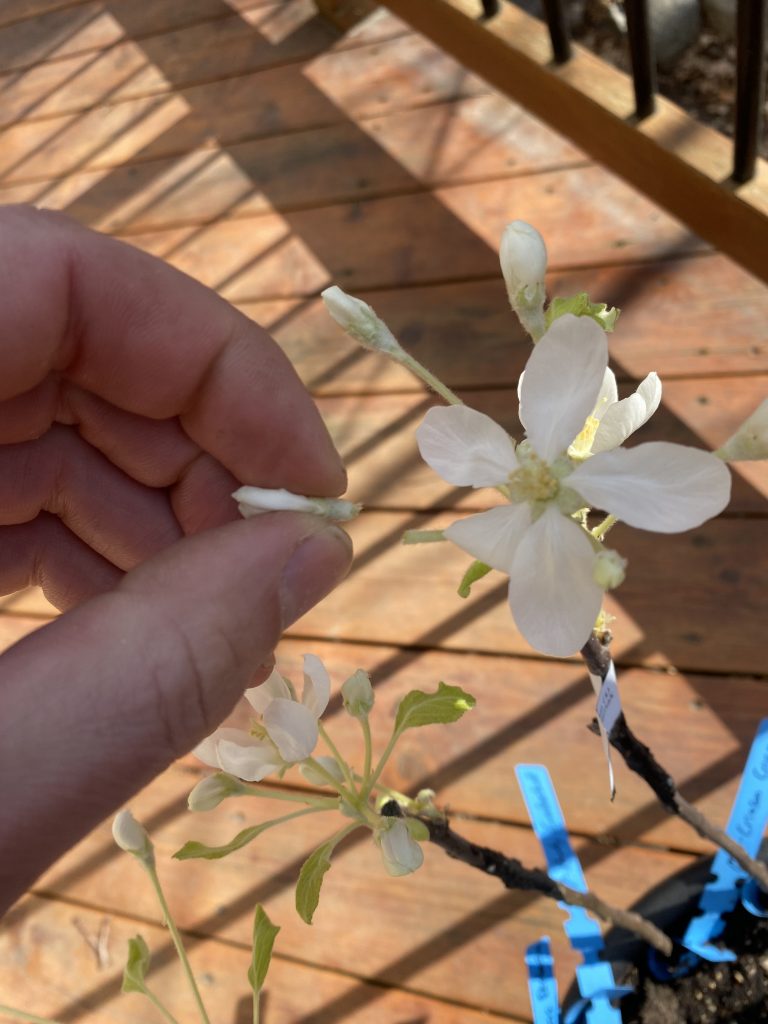
In regard to the buds on the scion I took a much different approach. There are two main kinds of buds on apple trees – vegetative and flowering. Actually I think there’s a third for leafs but for now lets just keep it simple. The idea with newly grafted trees is that you want vegetative buds because you want to grow a tree! You don’t want flowering buds because we don’t want any fruit at this point. As the buds on the scion wood developed it became rather easy to determine which kind of bud you were dealing with…
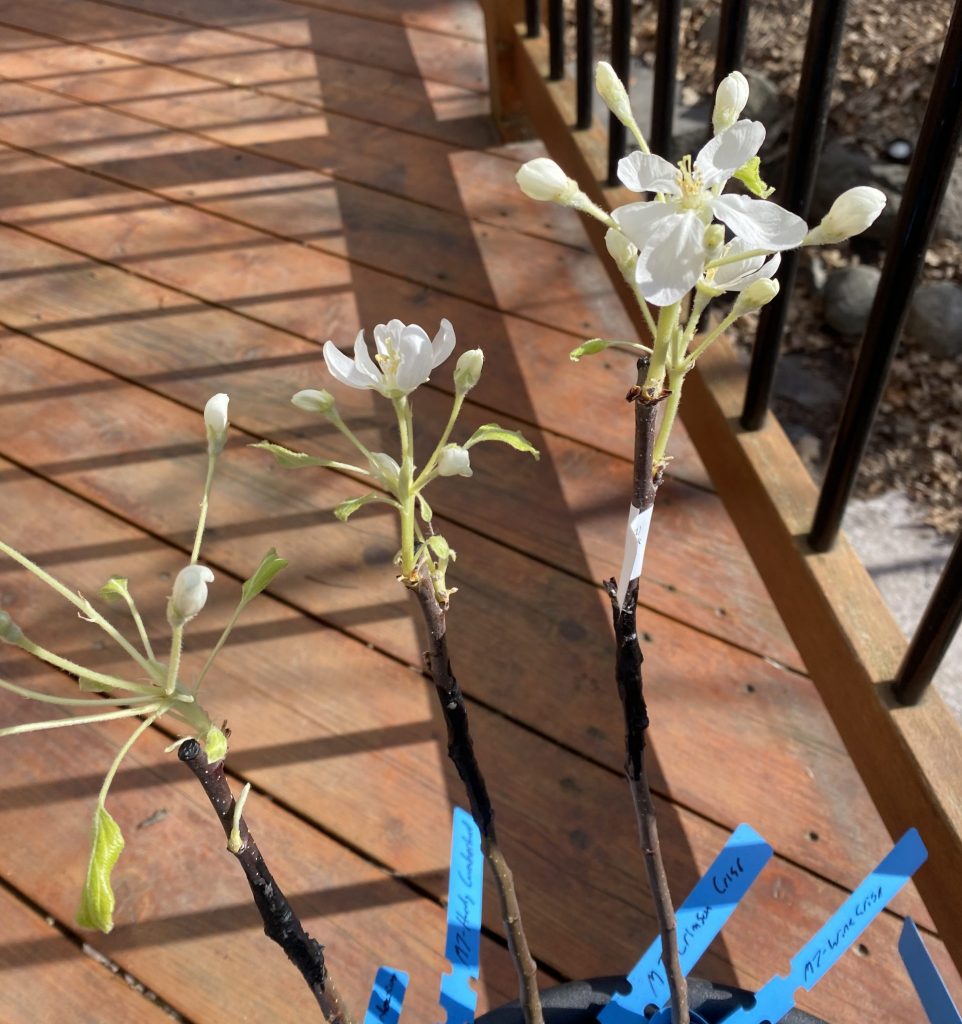
Flowering buds as shown above have flowers as shown above. The hope with grafting is that when you graft 2-3 buds onto the rootstock that at least one of them will be a vegetative bud. There are however cases where all of the ones that survive will be flowering buds. I ran into this on a couple of trees. In these cases – the general guidance seems to be to just pick off the flowers and hope that the tree will push vegetative growth. Im actually not really sure if that’s a thing but we’ll see what happens. My approach to picking off the flowering buds was to pinch off just the flowers as shown below…
This left me with something like this…
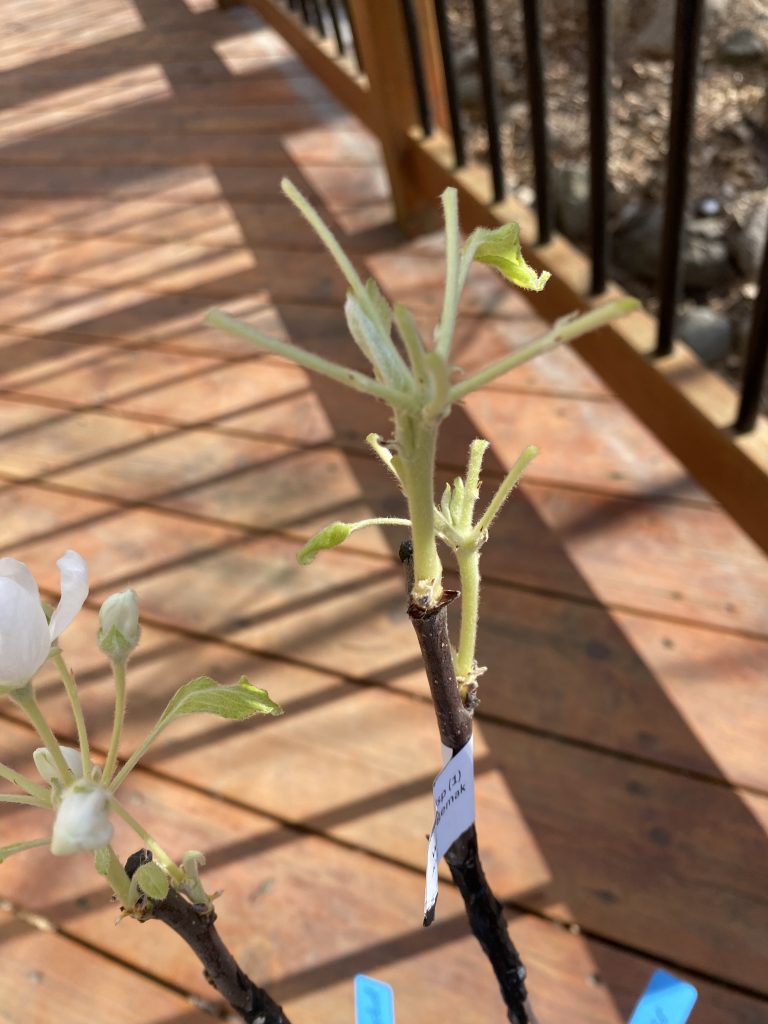
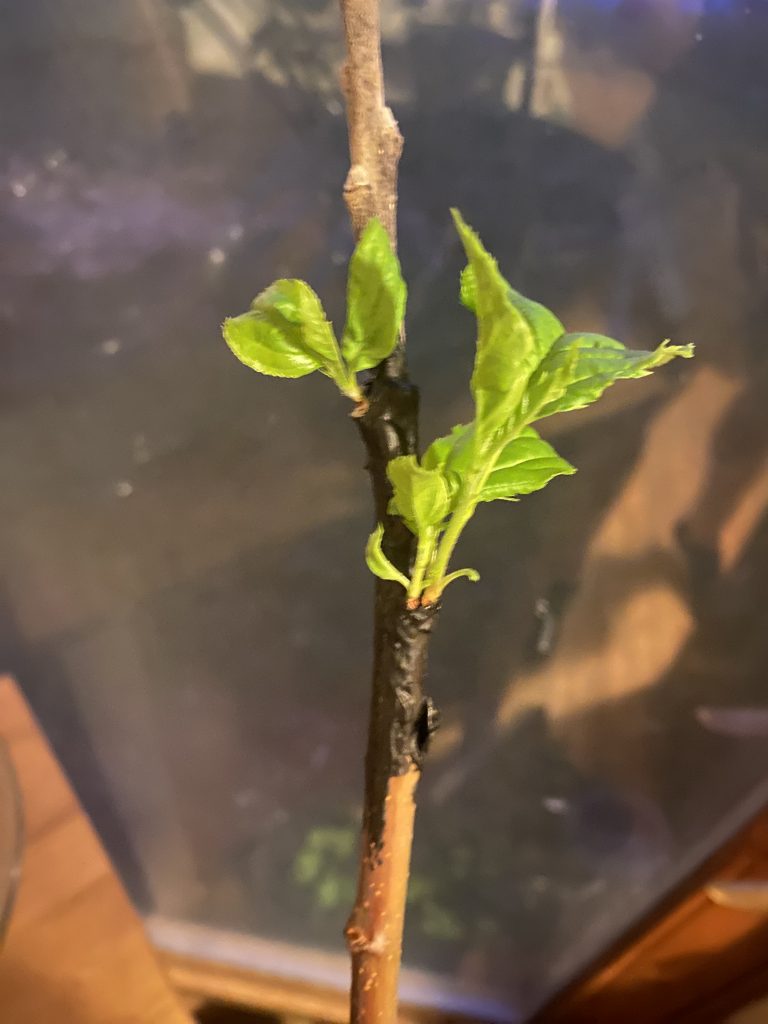
Notice that the above tree had two flowering buds that I pinched off the flowers on each. Hopefully one of these will start to push vegetative growth. For the other trees that had a vegetative bud I ran into a couple of combinations. Some had one flowering and one vegetative. In these cases once the vegetative bud looked like it was taking off I pinched off the flowering bud entirely. Others had two vegetative buds. In these cases I looked at which bud looked the best and pinched off the other…
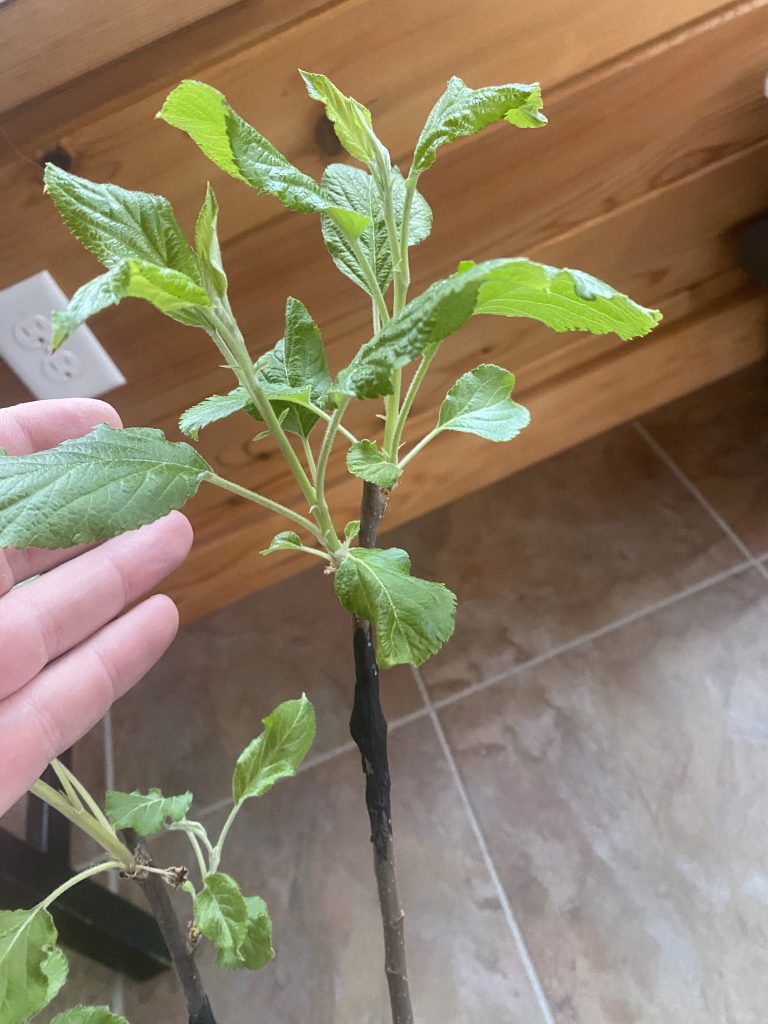
Above is a tree that had two really good looking vegetative buds. If both looked good I kept the one closest to the top of the tree.
As April progressed, and the weather started getting nicer, I started taking the trees outside during the day to get some sunshine. I was careful to watch the weather and make sure to pull them in if we had a lot of rain or if the temperatures dipped. This was the beginning of hardening them off. Hardening them off as far am Im aware just means to get them used to variable temperatures and wind etc. I continued pinching off rootstock buds and making sure the soil in the containers was moist but not soaking wet. By the end of April it looked like about 40 of my 45 grafts had survived! Im going to give it a couple more weeks to make sure that the dead ones are in fact dead but then Im going to cut them open to see if the graft union never took. On that note – some folks recommended making a slice in the Treekote and Parafilm to allow the tree to expand. I’ll take a picture next time – but most of my trees seem to have broken right through both layers by themselves. I was worried about slicing the tape open since I dont want them to dry out or let insects etc get in there so I guess for now Im just going to let the trees keep pushing the coating off themselves.
The next step is to get them up to the farm and planted in a protective outdoor tree nursery. More to come on that in the next post!

1 Comment
Apple Tree Nursery – Birch Bend Farm · June 12, 2024 at 1:24 am
[…] I mentioned in my last post I was anxious to get the grafts up to the farm and get them in the ground. But before I could do […]