Well I’ll admit that I’m a bit further behind on this blog than I’d like to be but as per usual the summer months flew by and we found ourselves getting ready for winter all of a sudden. That said, I’m going to try to get caught up slowly over the next couple of months. This time I’d like to talk through what the apple season looked like for us in 2024.
As I mentioned in previous posts this was my first year grafting apple trees and it went surprisingly well. I had taken two different classes on grafting and read all the material I could find on the topic. Much to my surprise out of the 45 I grafted 40 made it until I was ready to transplant them outside in early spring. I then lost 5 more for various reasons surrounding transplanting (the kids accidentally broke 3 of them off when I had them sitting by a window) leaving us with 35 in the nursery – I’m ecstatic though that 35 out of 45 made it and are doing well. I truly enjoyed watching them take off in the nursery and watching the graft unions heal over. Here are a couple of pictures of the graft unions…
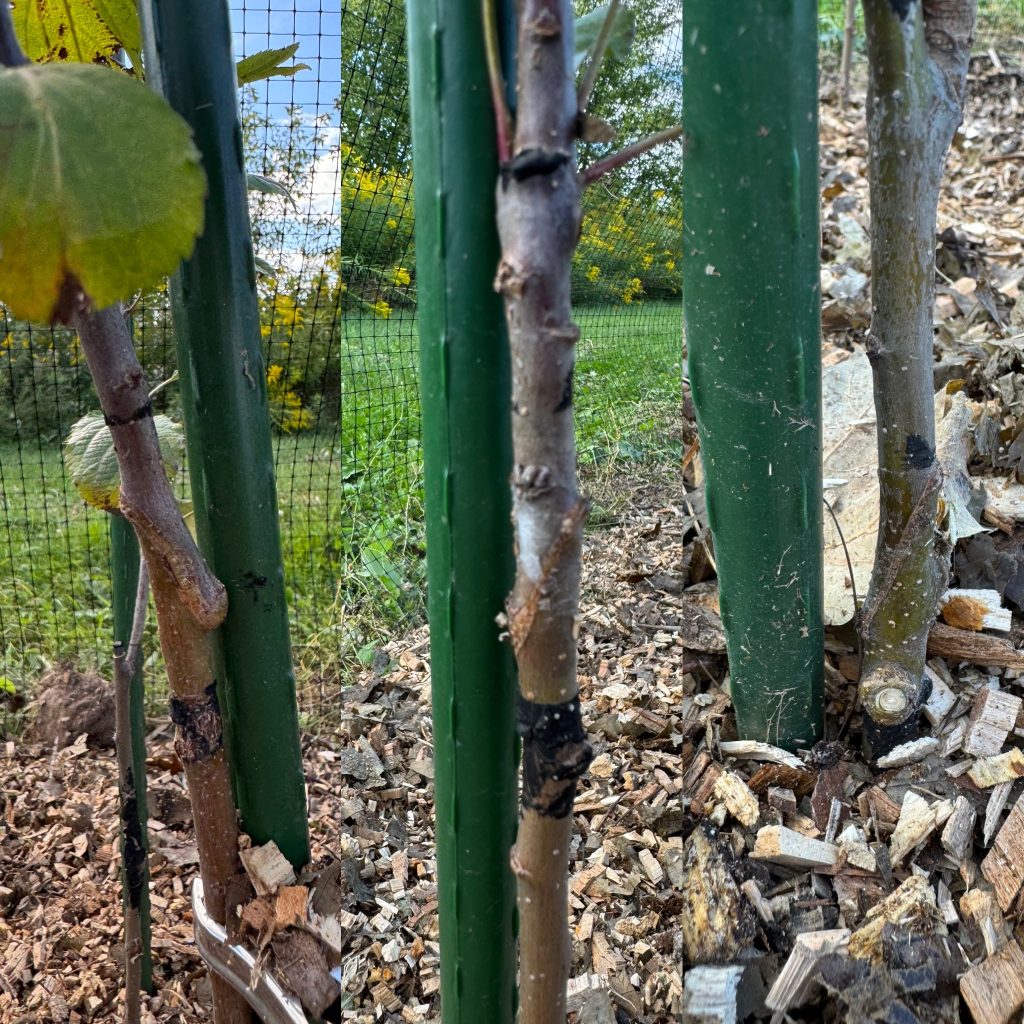
Above are three of the grafts that I took a picture of halfway through the summer. You can see that the grafts healed exceptionally well. I know there is a lot of information out there on what type of graft to do, when to do it, how to hold it together, when to take the binding off, etc, etc, etc. I sort of took my own approach which went like this…
- Graft the trees in early March. As I mentioned, I read a ton of books, took two classes, and watched a lot of YouTube videos on the topic. In both classes they taught the “whip and tongue” grafting technique which, to be honest, I found a little daunting. While cutting the whip was rather easy – getting a tongue on each side was hard to do for me, especially in a manner that it all lined up when you were done. Then I came across this video of Michal Dolan grafting where he basically says whip grafting is just fine and you don’t need a tongue. After hearing this, that’s the approach I took and it seems to have worked. My thinking here is that so long as the tree can start growing then it doesn’t really matter how you get it started. I used grafting tape for grafting and once I had them standing up in pots, I used grafting seal over the tape to keep them closed up
- I kept the trees healed over in pots inside and the soil in the pots damp until we started getting some spring days that were above freezing and sunny. Then the pots started going outside during the day to get some sun. During this time I nipped off any shoots coming from the rootstock so the plant could focus on the scion growth and I watered them regularly.
- Once some buds started opening I looked for flowering buds and nipped off the flowers. What we want at this point is the vegetative growth.
- Once the weather got nicer I started on the fenced in tree nursery so that I could transplant the trees outside. Once there was no more chance of freezing I transplanted them outside and then checked on them once in awhile to nip off any rootstock growth and if I had more than one vegetative growth bud I picked one to be the leader.
- One thing I did not do that many folks recommended was to cut the binding off the graft once the trees started growing. I found that the trees happily broke out of the tape and sealing compound on their own which eliminated the possibility of me cutting them open too soon.
That was really it. I’ve been surprised at how easy it was and how well the trees have done in their first year. That said, I did have some more learnings in regard to the outdoor nursery. I learned the hard way that tarping the ground to kill any existing ground cover was an important early step in the nursery. As I mentioned in my post about the nursery – When I started, I had simply tilled the ground over and then planted the trees. I came back a month later to see this…
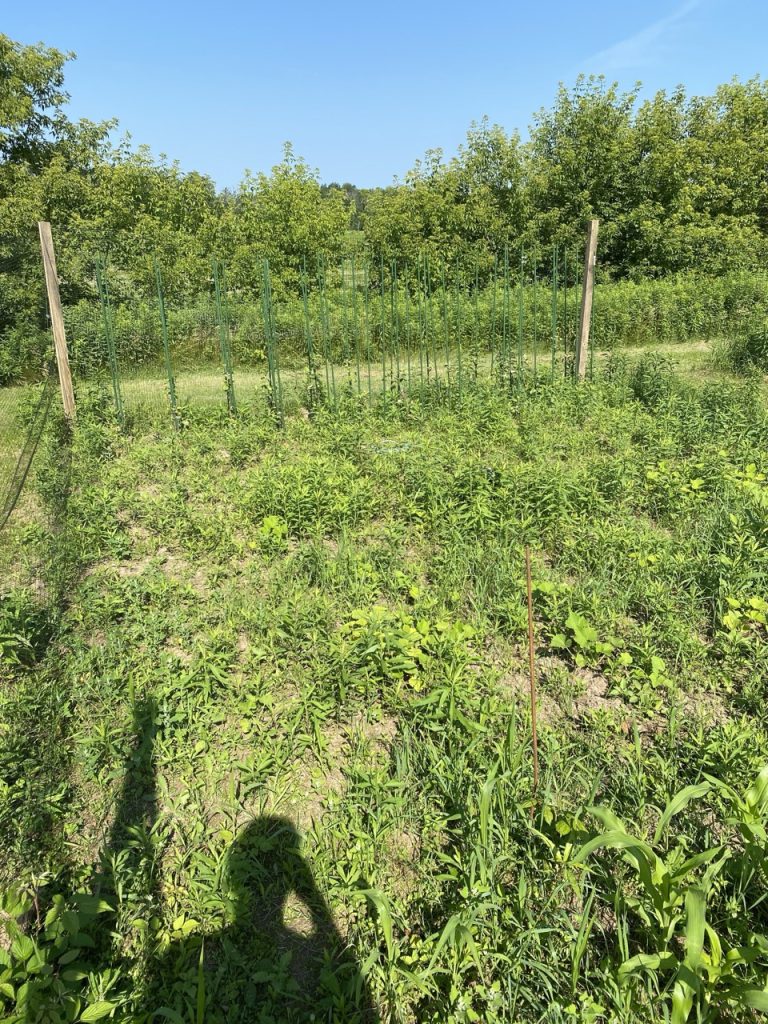
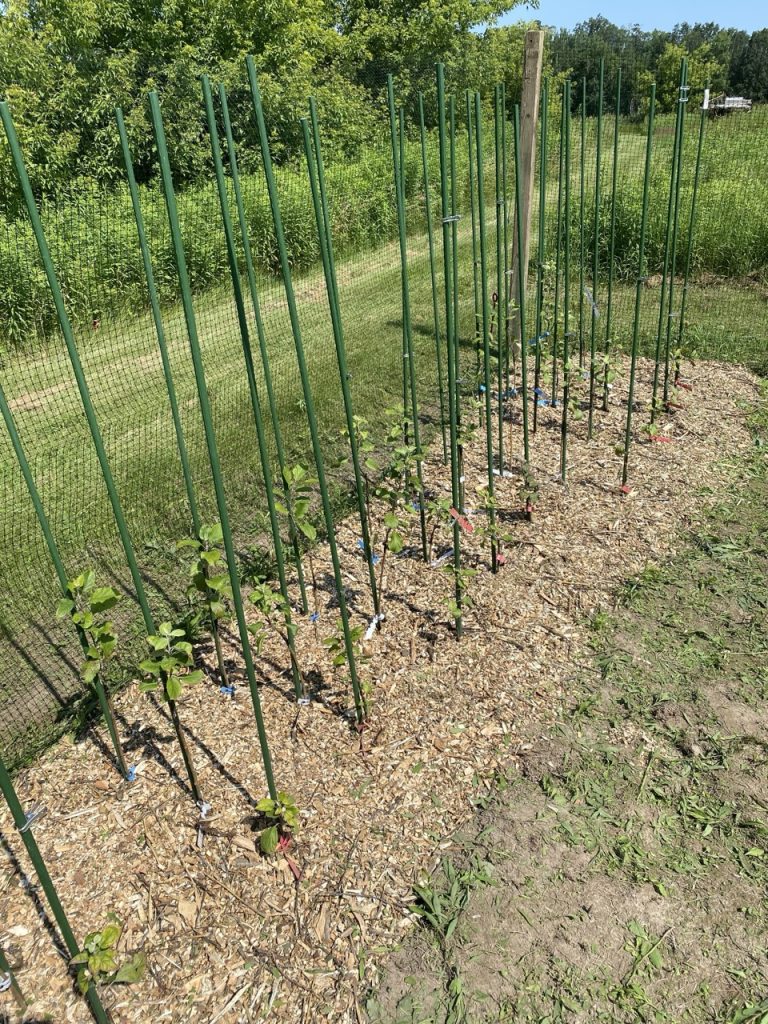
Weeds had totally taken over the nursery. My intent all along was to get the trees planted and then mulch around them, using the new mulcher we had purchased for the tractor this summer. Unfortunately – I had just waited too long to do it and the weeds took over. It took me a long time to get things back under control and I eventually ended up with something that looked like this…
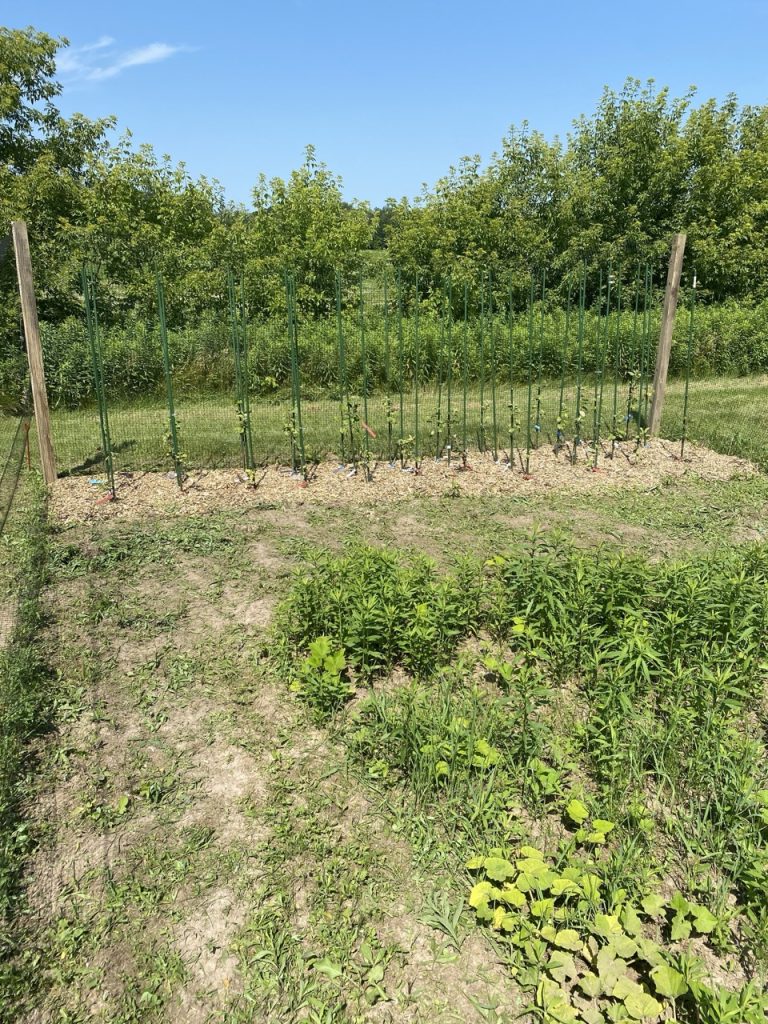
Since I made the nursery larger Laura had decided to use a corner of it for growing corn and squash which unfortunately also got overtaken by weeds. Even though I did manage to mulch around the trees it was a battle all summer to keep pulling weeds out of the mulch. I deeply regretted not having killed the ground cover before planting the nursery.
That said – I’ve learned my lesson and have since laid down tarps over the rest of the nursery to kill the ground cover.
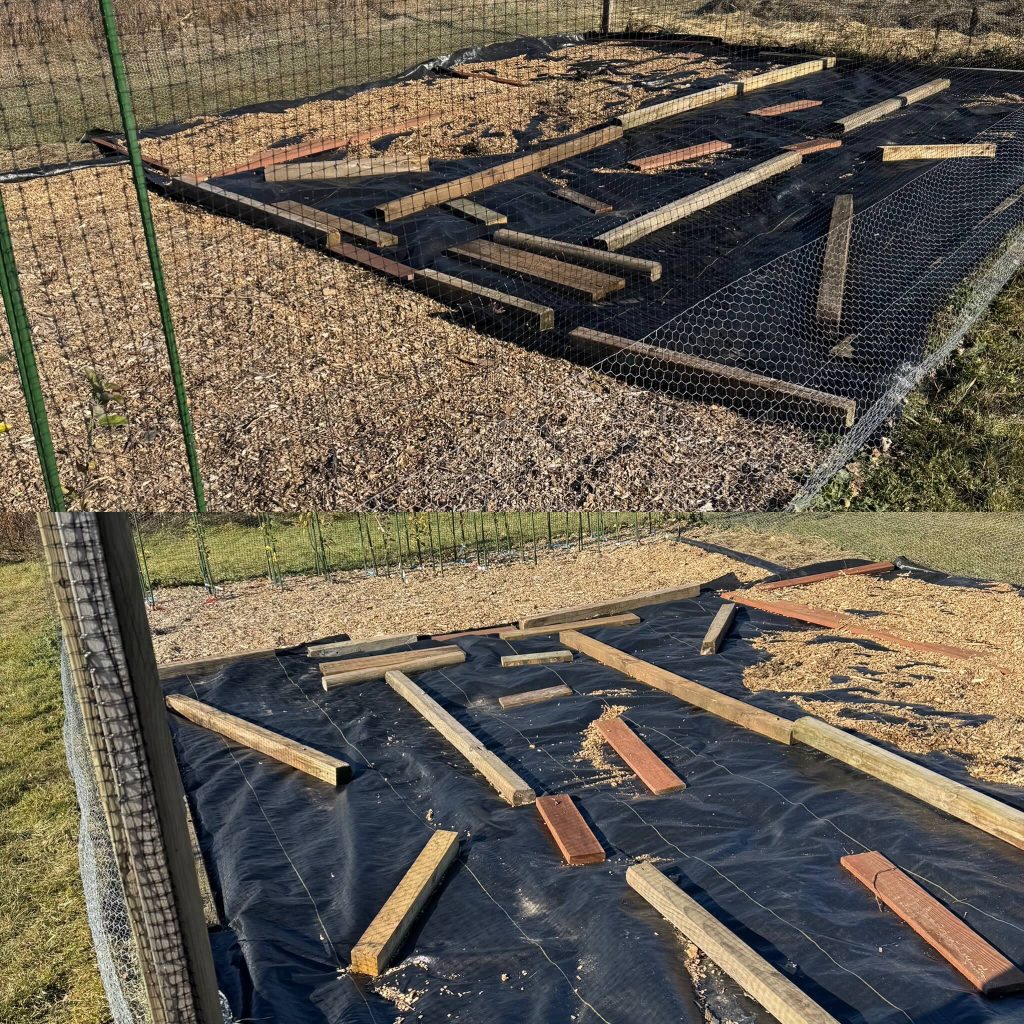
In the spring I’ll uncover what I need, till it, plant the trees, and then immediately mulch around them. I’m hoping this combination of things will keep the weeds under control and prevent me from having to pull weeds every weekend. This means that I’ll need to get on top of mulching early in the spring so I have enough to place around the trees. We bought a mulcher for the tractor that we just love (I’ll have to do a post on that next time I use it) but we’ve found that the mulch gets used up quickly, so we really need to mulch a lot to have on hand for things like the tree nursery.
In terms of preparation for winter I spent some time this fall making sure the fencing around the trees was in order and added another layer of chicken wire along the bottom as the deer fencing is just plastic. I’m hoping this is enough to keep animals off the trees for winter but we shall see.
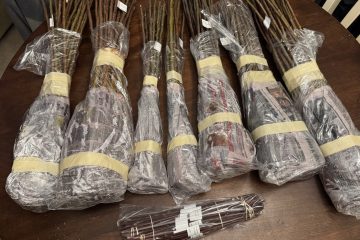
Now let’s talk about 2025! Given the success I had with grafting this year I’ve already placed an order for more scions and rootstocks for next year – 150 rootstock from Maple Valley and another 20 from Fedco because they had some scions and rootstock that Maple Valley did not have. I’m focusing mostly on cider varieties for now so the list of scions is likely ones you’ve never heard of. While I started with a mix of M7, G890, and M11 rootstock Im adding two new rootstocks to the list. G969 and “Antonovka” rootstock. I’ve been reading a lot of books around cider making and they seem to encourage larger full size trees and I like the idea of planting trees that will likely outlast me. That said – I’m going to limit my experiments to these 5 rootstocks with the hopes that in 3 or 4 years I narrow down which one or ones I like and will use going forward. Im hoping to copy the same plan as last year and have the trees grafted sometime in March.
But enough about new trees and the nursery – let’s talk about what we did the apples from this year! We had a pretty decent harvest from the 8 trees that already existed on the property. The Winecrisp apple tree up by the gardens was absolutely loaded. We kept a lot of the apples for fresh eating and shared a lot with friends and neighbors. One of the trees by the lake had a great set of fruit all of which I saved for pressing into cider…
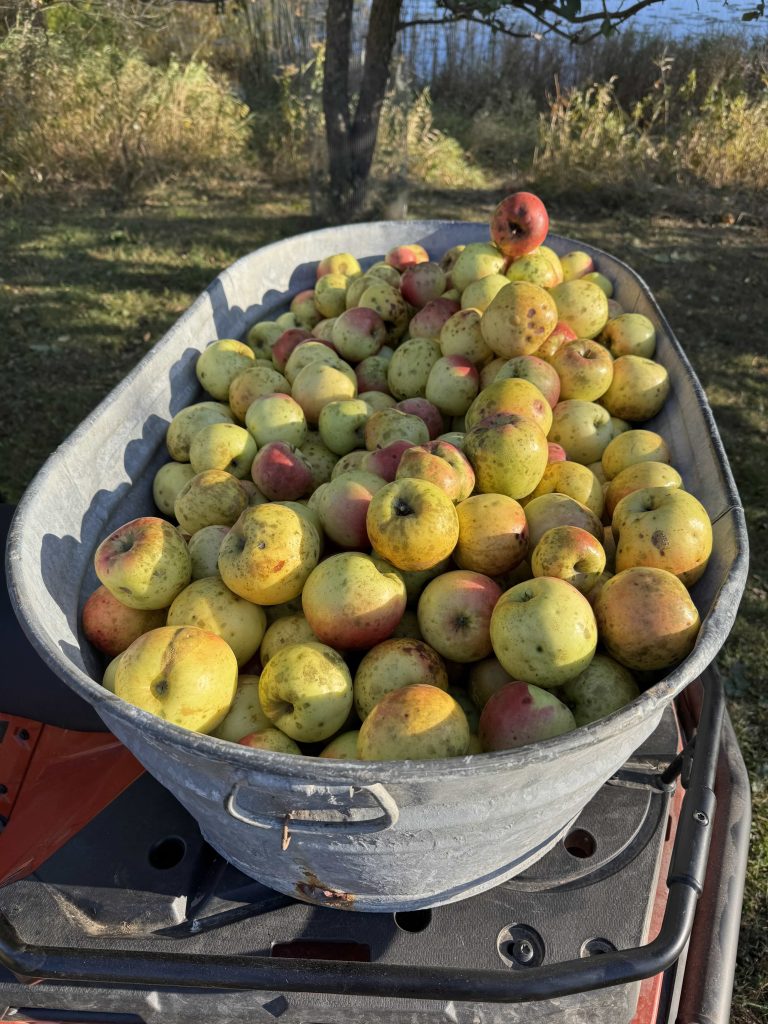
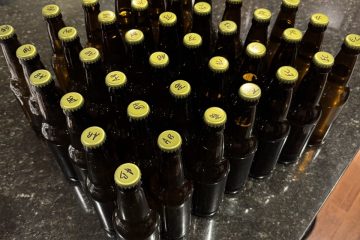
These apples yielded about 5 gallons of cider which tasted just amazing. We unfortunately don’t know what kind of trees they are but I’m hoping to eventually get some scions off of them to propagate them as well. We shared about a gallon of cider with family and I kept 4 to start experimenting with making hard cider (more on that in an upcoming post!)…

So looking back I think we learned a lot this year in terms of the orchard and apple trees…
- We got more comfortable with apple tree pruning (thanks to Laura for driving this)
- We established the nursery and transplanted our first grafted trees
- We learned a lot about grafting, transplanting, and managing the nursery
- We started experimenting with making hard cider which is something we want to focus on from a business perspective in the coming years
I’m looking forward to starting the cycle again next year and grafting more trees!

1 Comment
Jumble Garlic – Birch Bend Farm · November 18, 2024 at 1:45 am
[…] the weeds. Just tilling the ground ended poorly for me in the tree nursery earlier that year so (see my post on the tree nursery wrap up) my new go to method for prepping the ground is to tarp it for a few weeks or months and let the […]